How to Etch Damascus Steel
Mastering how to etch damascus steel is the final step that reveals the distinctive pattern of Damasteel. The quality of the finished result depends on proper surface preparation, the choice of etching solution, and careful process control. By following the correct etching procedure, you can achieve maximum contrast, clarity, and visual depth in your Damasteel blade or component.
Why we etch damascus steel?
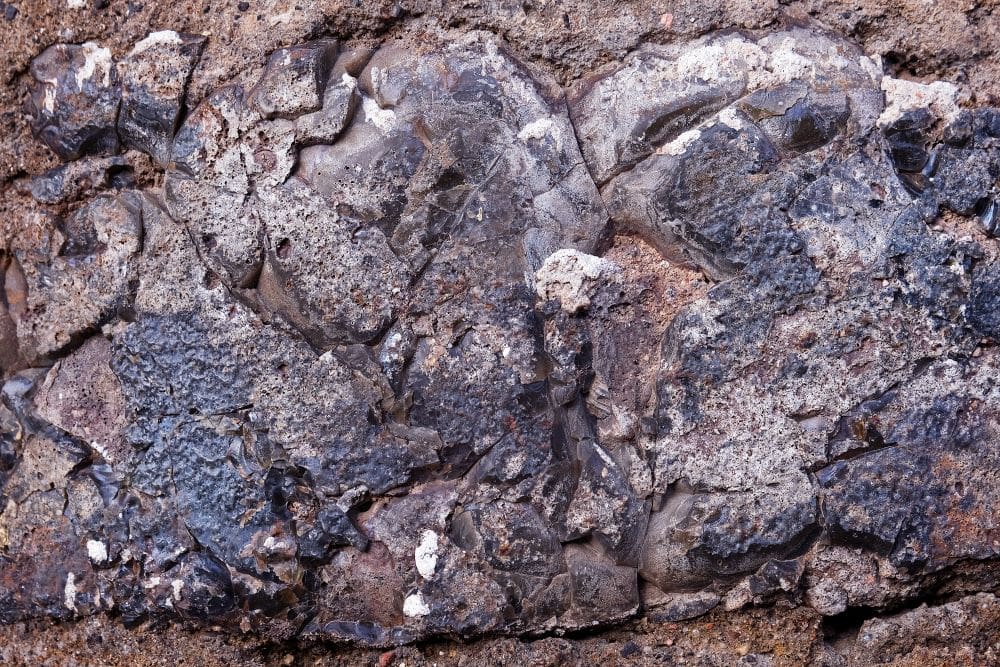
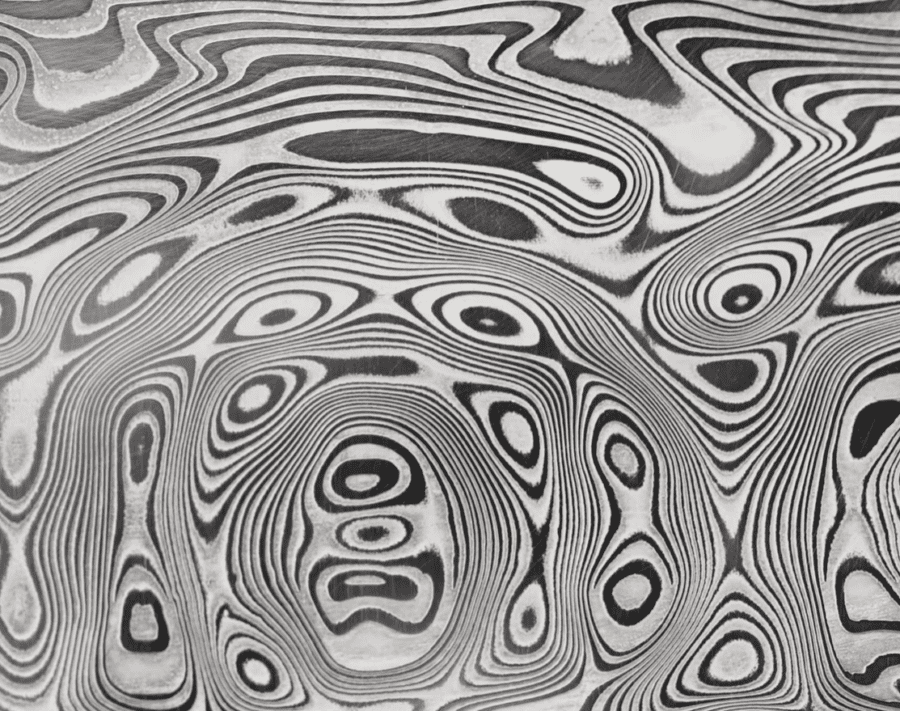
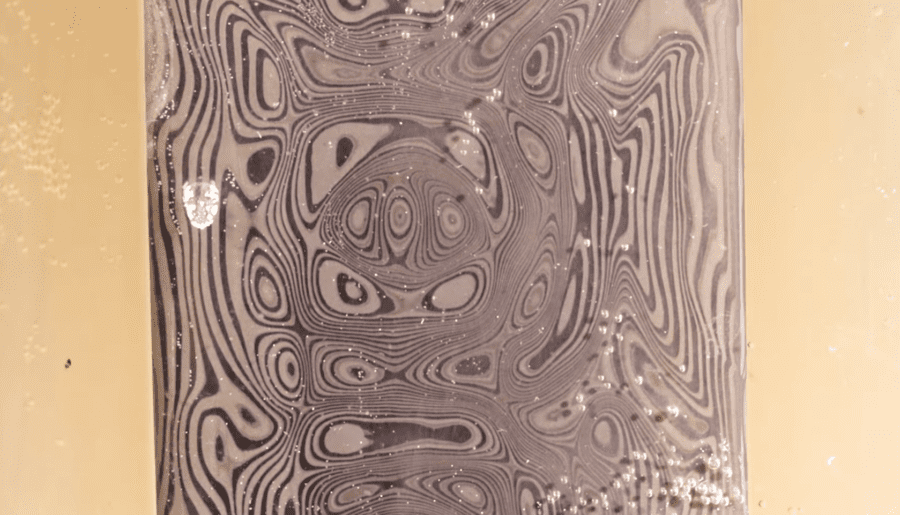
Damascus steel develops its characteristic patterned appearance through etching, which exposes the contrast between the different steel layers. Different acid solutions may be used to achieve varying effects, and the quality of the surface finish plays a crucial role in the clarity, depth, and overall appearance of the Damascus pattern.
By carefully following each step of the etching process, the intricate Damasteel pattern is gradually revealed, showcasing the unique combination of advanced metallurgy and traditional craftsmanship. The finished result highlights the precision engineering, layered construction, and distinctive beauty that make every piece of Damasteel unique.

Information on safety and materials regaring how to etch damascus
SAFETY MATERIALS
- Safety glasses
- Apron
- Nitrile gloves
- Respirator
ETCHING MATERIALS
- Scientific thermometer
- Well-ventilated area, preferably OUTDOORS
- Etching mix
- a large container of water with baking soda
- Denatured alcohol or Windex on hand to clean the steel
Safety Warning
Etching creates noxious fumes. The process must always be performed in a well-ventilated area, preferably outside. All acids are highly corrosive and must be handled with great care. Always remember the laboratory golden rule: Always pour the acid into the water, never water into acid.
Always consult the safety datasheets for your specific acids. If you are unsure about the metallurgical process, feel free to reach out to our team.
Step-by-step guide – how to etch damascus steel
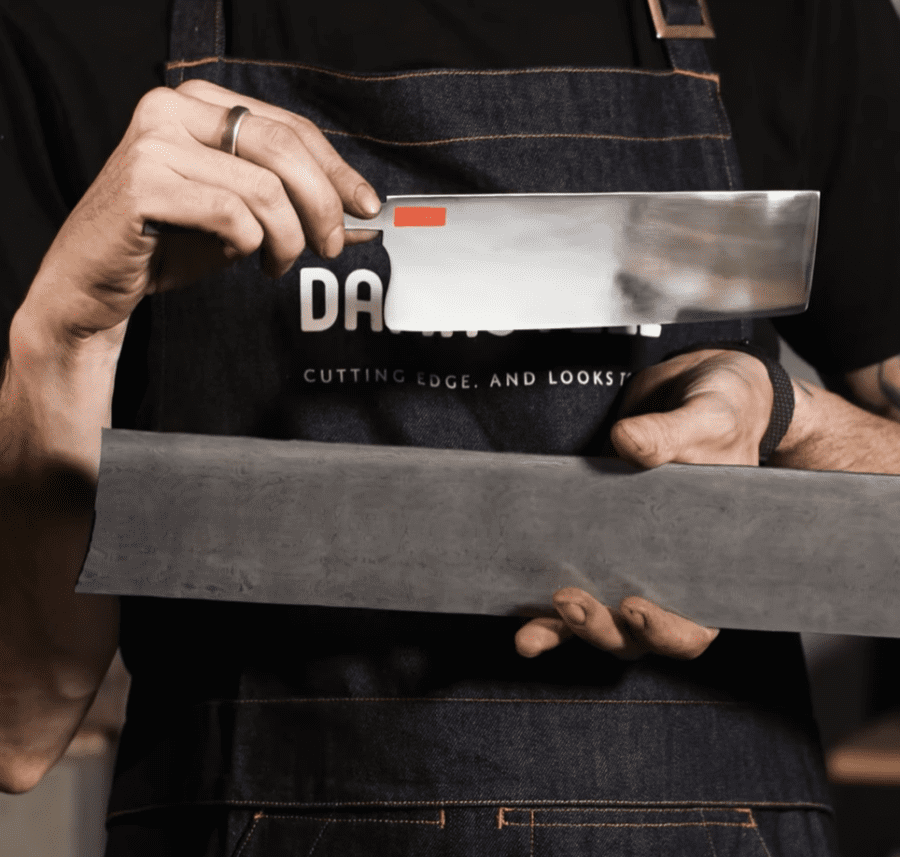
1. Surface Preparation & Degreasing
Grind the piece progressively up to 600 grit or much higher. Finish off with a fine polish (up to mirror finish) for a classic result. Degrease carefully and do the final finish using glass cleaner or denatured alcohol.
2. The Acid Bath
Mix the acid in the recommended ratios and heat the mixture in a water bath to the correct temperature. Immerse the piece and leave it in for 2–5 minutes.
Pro-Tip from the Blacksmiths:
The standard immersion time is 2–5 minutes. If you want a deeper tactile relief where you can clearly feel the ridges of the pattern, you can leave the piece in the acid bath for a longer soaking time.
3. Neutralization & Final Polish
Neutralize the piece immediately by dipping it into water mixed with bicarbonate. Rinse thoroughly with clean water, gently dry the surface, and seal with a light oil to protect the contrast and finish.
Pro-Tip: Neutralize to Prevent Rust
Skipping neutralization is the #1 cause of post-etch rust and blurry patterns.
1. Submerge: Soak in a Baking Soda bath for 1–2 minutes (until bubbling stops).
2. Seal: Immediately apply protective oil (e.g., WD-40) to lock in contrast.
3. Rinse & Dry: Flush with hot water and dry completely.
Technical Specifications & Etching Parameters
Before mixing your chemicals, ensure your workshop environment and materials meet the following technical requirements to achieve a flawless, predictable contrast.
Crucial Etching Parameters:
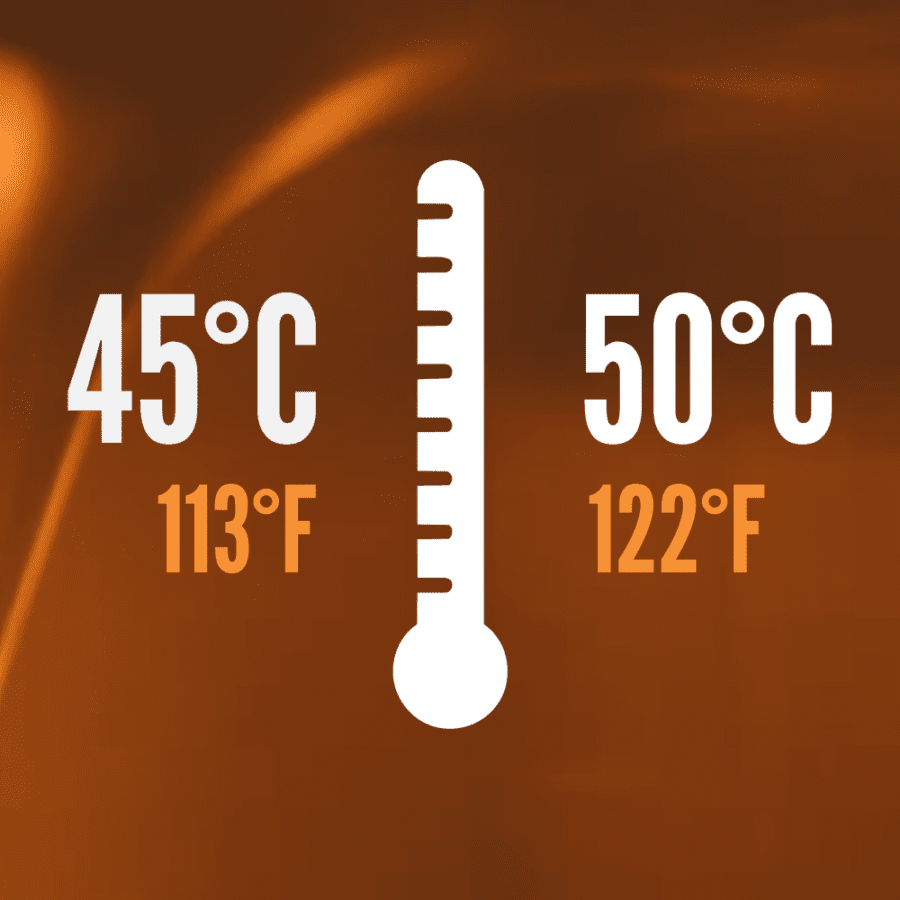
- Optimal Temperature Window: The chemical reaction for etching stainless Damascus steel requires a heated acid bath. The mixture performs best when heated in a water bath to a temperature between 45°C–50°C (113°F–122°F).
- Water Quality: Always use distilled or deionized water when diluting your acid. Standard tap water contains minerals (like calcium and chlorine) that can react unpredictably with the acid and cause a spotty or uneven finish.
- Surface Preparation Standard: For a high-contrast premium finish, the steel surface must be uniformly ground progressively up to 600 grit or much higher (up to a mirror finish) and 100% degreased using glass cleaner or denatured alcohol before immersion.
How to Etch Damascus Steel: Recommended Etching Ratios & Parameters for DS93X™
This structured data guide shows exactly how the DS93X™ alloy reacts to the factory-recommended chemical setup.
| Etching Solution | Chemical Composition | Blend Ratio (%) | Temperature | Immersion Time | Color Result (RWL34™) | Color Result (PMC27™) |
Option I (Standard) | Hydrochloric acid 37% (HCl) & Ferrochloric acid 40% (FeCl3) | 95% HCl / 5% FeCl3 | 45°C–50°C (113°F–122°F) | 2 – 5 minutes | Bright (Reflective) | Dark Grey (Matte) |
Common problems with etching damascus steel
How to clear up cloudy steel?
Check your acid mixture, some pre-mixed steel baths are only meant for carbon steels. There could also be contaminants in your mixture, remember to keep a clean workspace.
My blade looks patchy, even after etching.
Proper surface preparation is critical before etching Damasteel. Residual oils, polishing compounds, or fingerprints can create barriers that prevent the acid from uniformly contacting the steel. As a result, the etch may develop unevenly, producing a patchy, streaked, or incomplete pattern.
Why do we warm the acid?
Warming isn’t necessary, but it creates a faster and crisper etch – the ideal temperature range for etching DS93X™ is 45°C–50°C (113°F–122°F). This temperature can be achieved using a scientific hotplate, double boiler, or submersible acid heater.
How to achieve a deep etch?
A combination of dipping and buffing will bring you a much deeper etch, see the video of John Phillips from Primeaux Knives to learn more. more info here maybe?
Following the process of etching damascus steel
Looking for DS93X™ Heat Treatment Instructions?
Before you etch, your steel must be correctly hardened to achieve maximum performance and the optimal 64 HRC / 60 HRC hardness balance between the RWL34™ and PMC27™ layers.
- Austenitizing Temp: 1100°C / 2010°F (Hold for 15 min)
- Quenching: Rapid cooling to 50°C within 2 minutes (Oil or Aluminum blocks)
- Tempering: 175°C / 345°F for 2 hours.

Question and answers about how to etch damascus steel (DS93X™)
What acid should be used for etching?
For DS93X™ Damascus steel, a mixture of 95% Hydrochloric/Muriatic acid 37% (HCI) and 5% Ferrochloric 40% (FeCl₃) at a temperature between 45°C–50°C (113°F–122°F) is recommended. Other acid mixtures are possible, but this is considered the most effective and standard.
How long should DS93X™ be etched?
For DS93X™, a standard immersion time is 2-5 minutes; however, different etch results require different times.
Why is my pattern not visible?
If you’re having trouble seeing your Damascus steel pattern, it could be a problem with your acid mixture or the temperature of your acid. For best results, warm the acid to between 45°C–50°C (113°F–122°F).
What safety measures should I take when using these acids?
When etching DS93X™, always use safety goggles, nitrile gloves, an apron, or a respirator. Consult the safety tips on our Datasheets and keep baking soda close to clean up any spills. These acids are extremely noxious, and we recommend doing this process outside or in a well-ventilated space.
Is there a difference if the acid isn’t heated?
An ideal temperature for etching DS93X™ is between 45°C–50°C (113°F–122°F), which you can achieve with a scientific hotplate, double boiler or a submersible acid heater. The cooler the acid, the longer the etch could take.
Should You Buff or Polish Before Etching?
Yes. Before etching, grind the blade progressively to at least 600 grit, though many makers prefer to go much finer. For a crisp, high-contrast pattern, finish with a fine polish or even a mirror finish. Once the desired surface finish is achieved, thoroughly degrease the blade and perform a final wipe-down with glass cleaner or denatured alcohol to remove any remaining oils, fingerprints, or polishing residue before etching.
Get 10% off your next order
Welcome to a more beautiful world of stainless, and enjoy a discount on your next order through our webshop. Sign in to start saving.
Welcome to a more beautiful world of stainless.